Overview
The following examples show how Zyler Go will look when you integrate it into your Webflow site. See the next section for the integration steps.
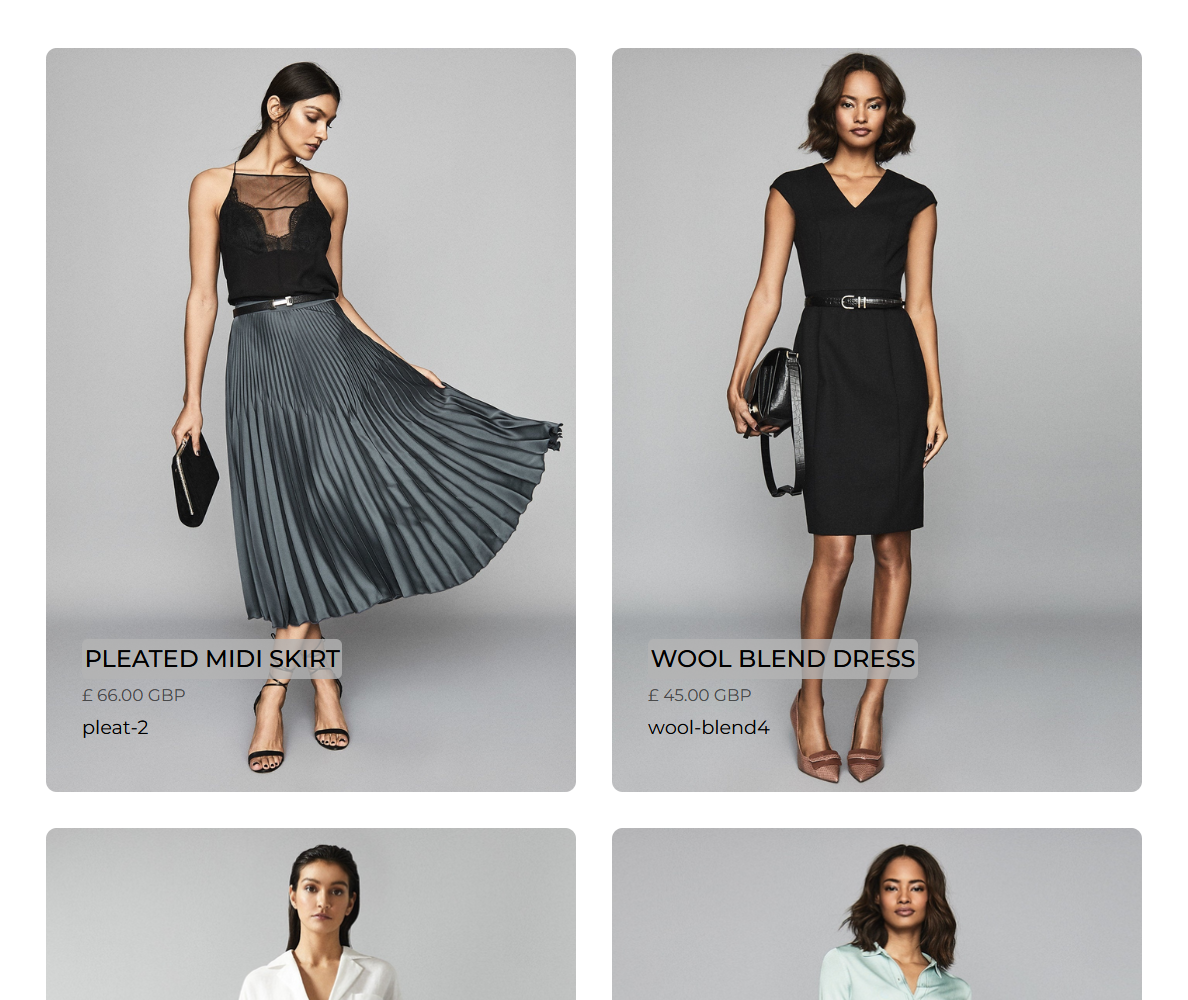
Imagine your PLP on desktop looks something like the following:
After integrating Zyler Go, Try On buttons will then appear below the product:
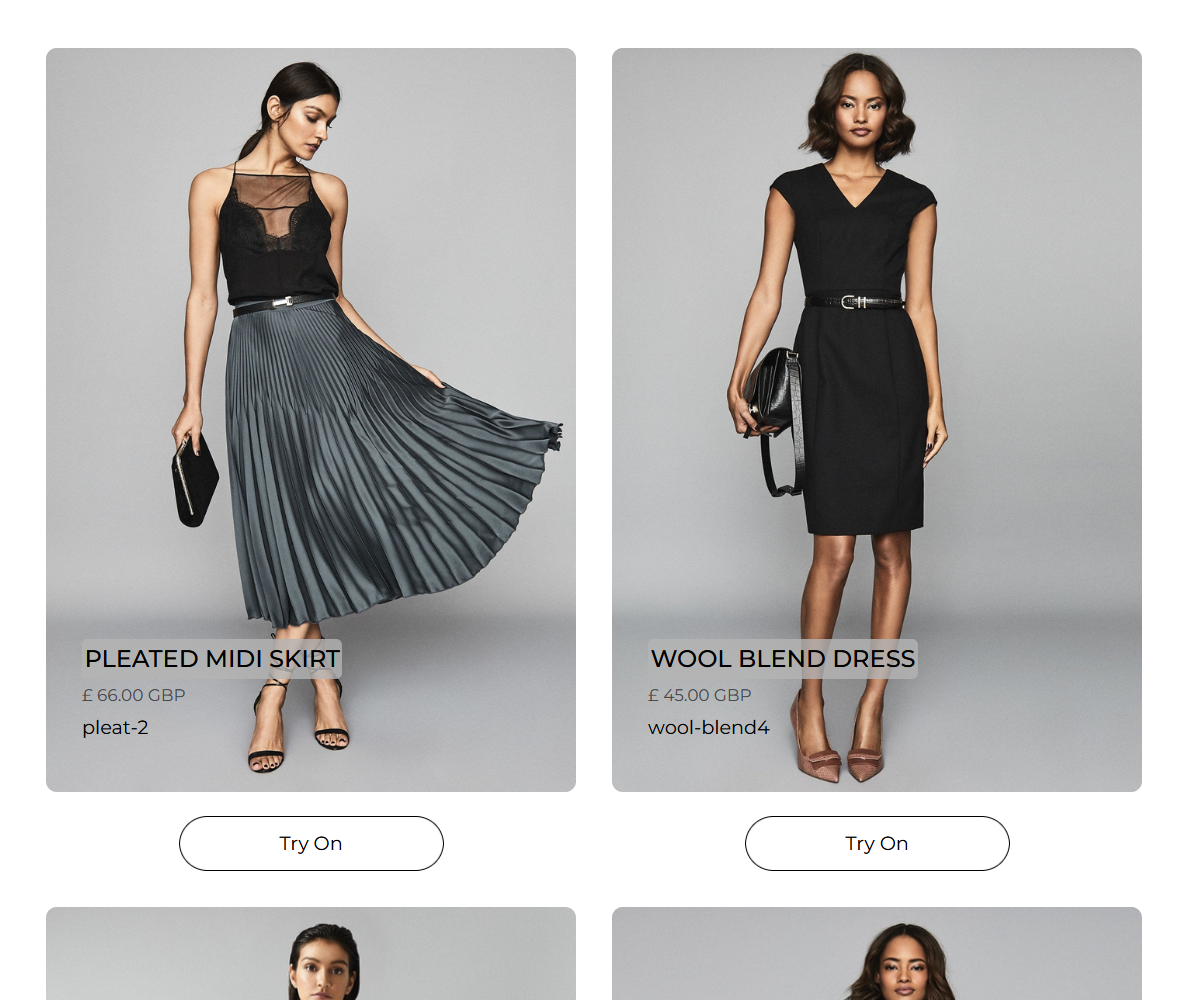
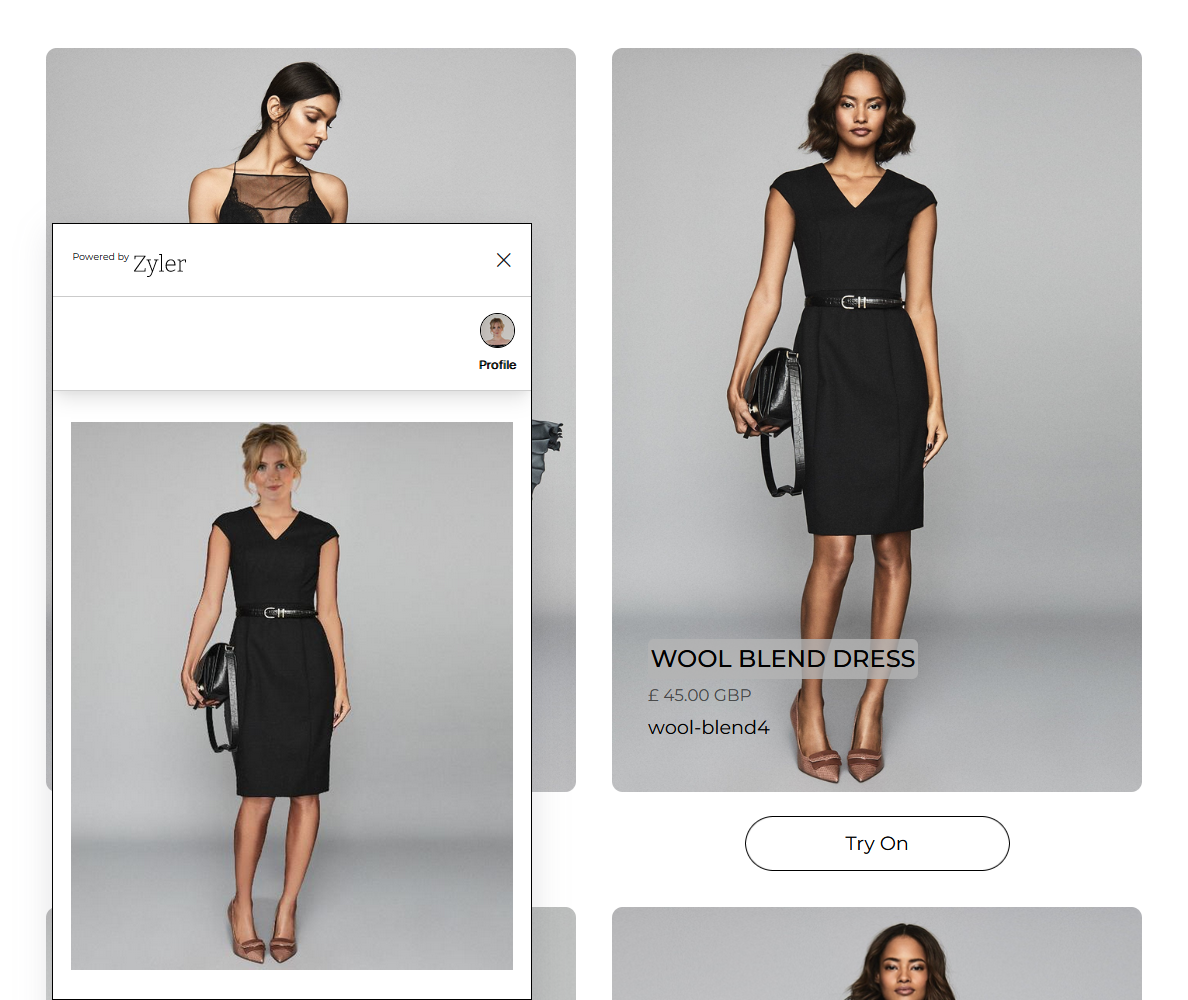
These Try On buttons can be customized to match the brand of your website as you see fit. Upon clicking the Try On button for an outfit, the Zyler Go widget will be displayed in the bottom left of the window showing the user visualized in that outfit. For example:
On mobile, the widget will occupy the whole screen as can be seen below:
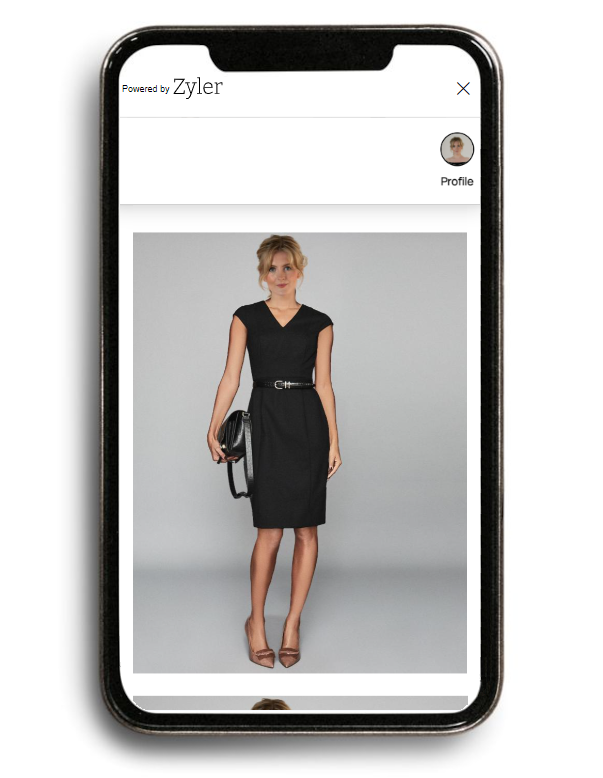
In both views, you are able to swipe vertically to view all your other outfits that are available for visualization.
As with the PLP, integrating Zyler Go on the PDP will add Try On buttons. Imagine your PDP on desktop looks like the following (before integrating Zyler Go):
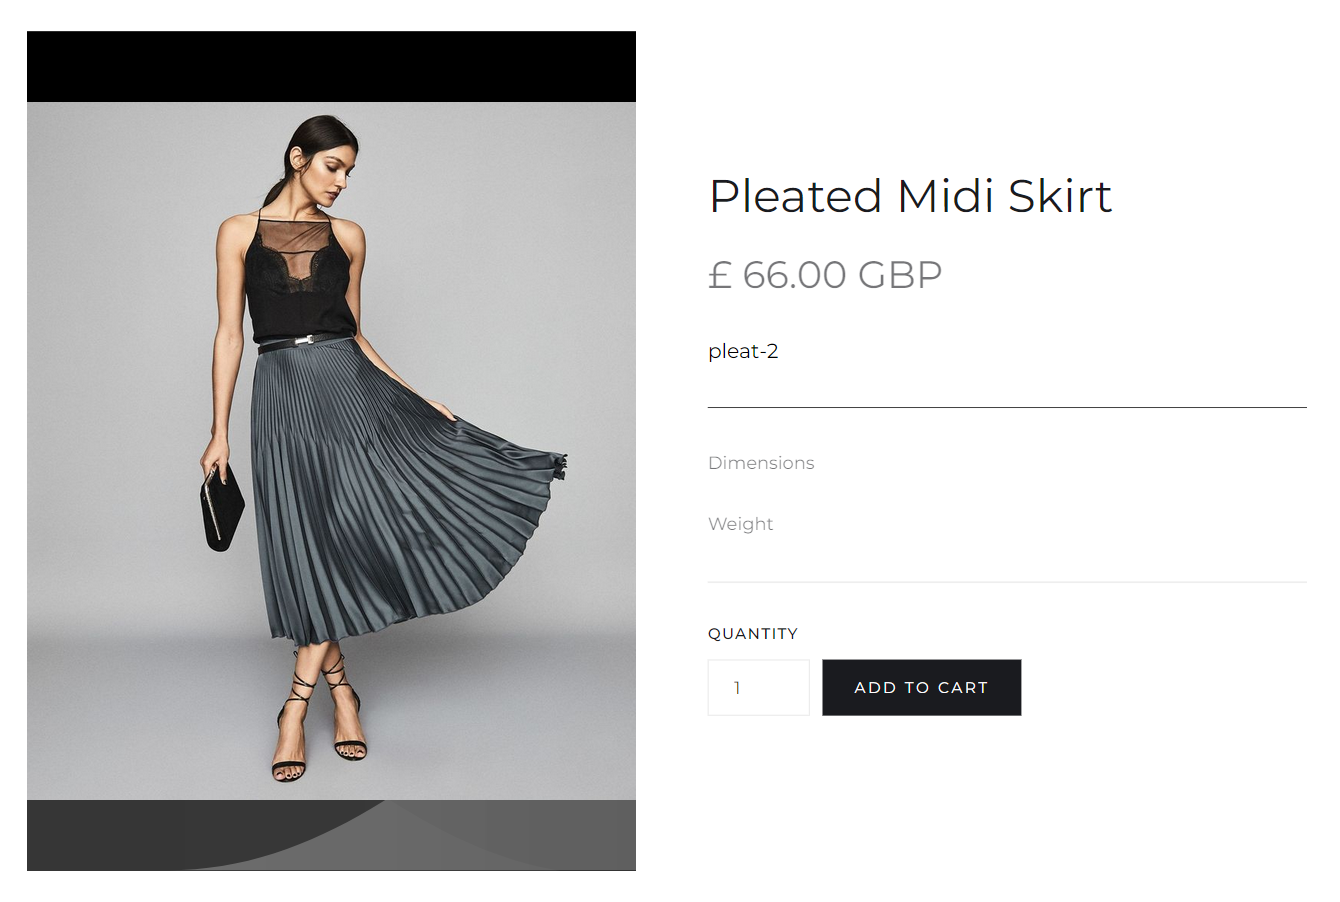
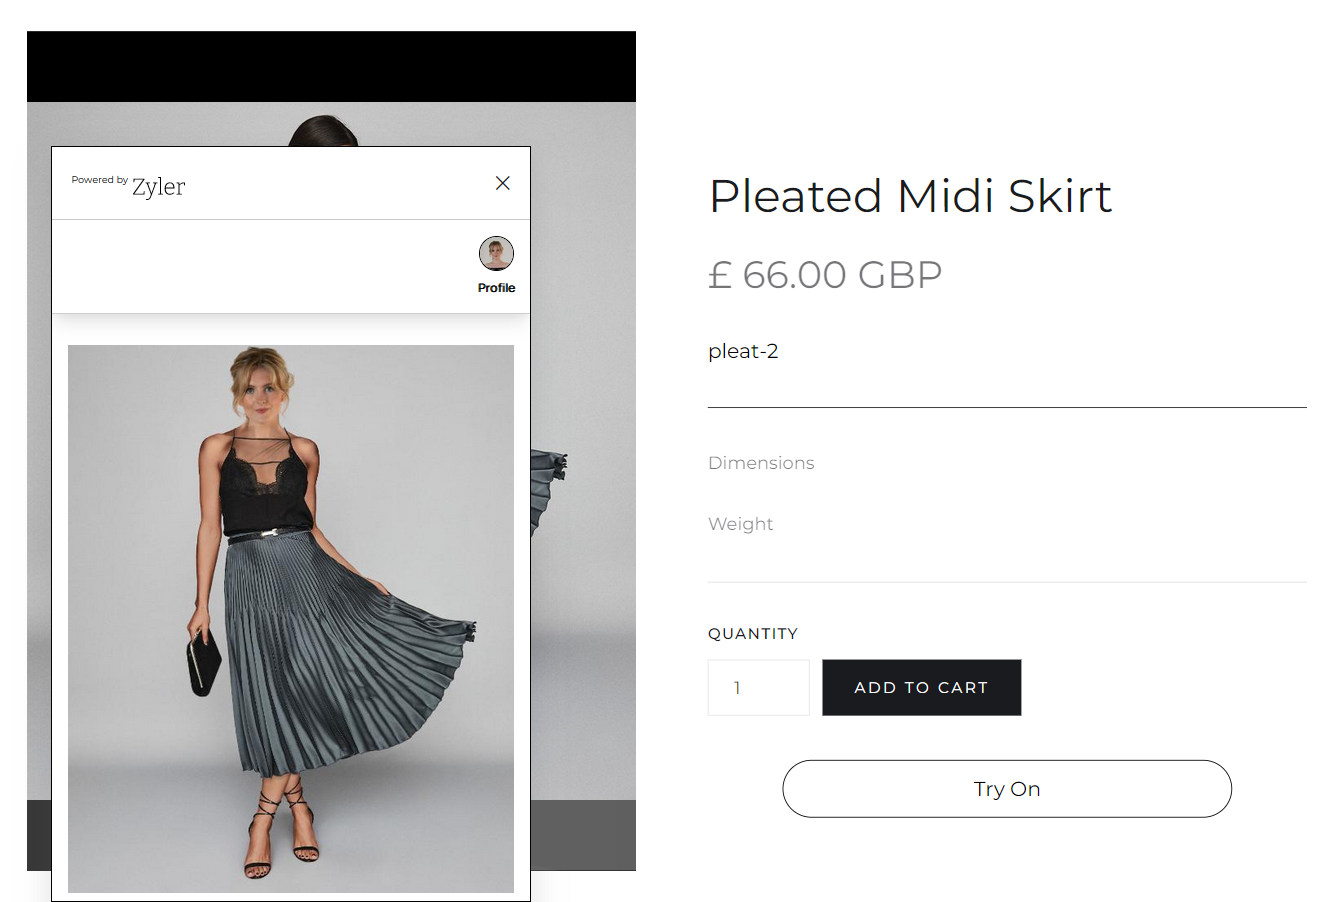
After integrating Zyler Go, a Try On button will appear under the product information section:

As before, upon clicking the Try On button, the Zyler Go widget will be displayed with the outfit visualized on the user. For example:
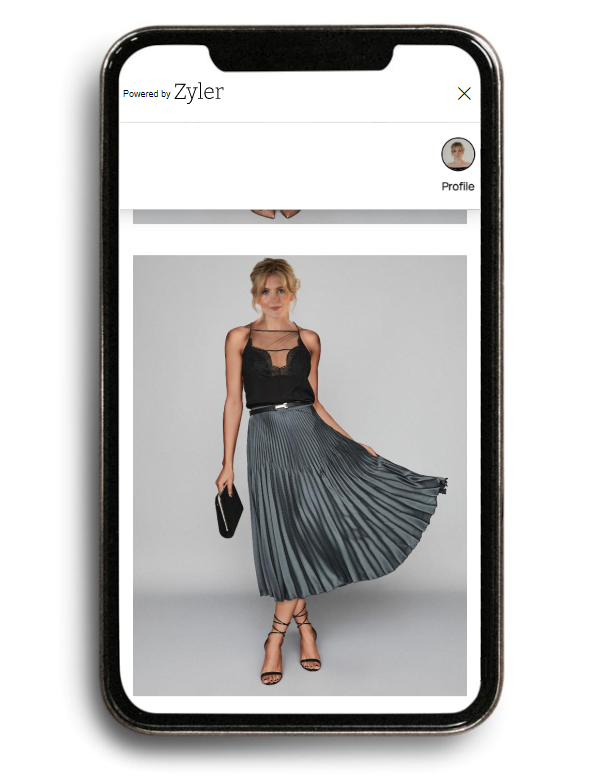
On mobile once again, the widget will occupy the whole screen as can be seen below:
Integration Steps
Follow one of the links below depending on which Webflow collection type you are using to manage your products: