Overview
The following examples show how Zyler Go will look when you integrate it into your Shoptet site. The next section explains the simple steps required to achieve this.
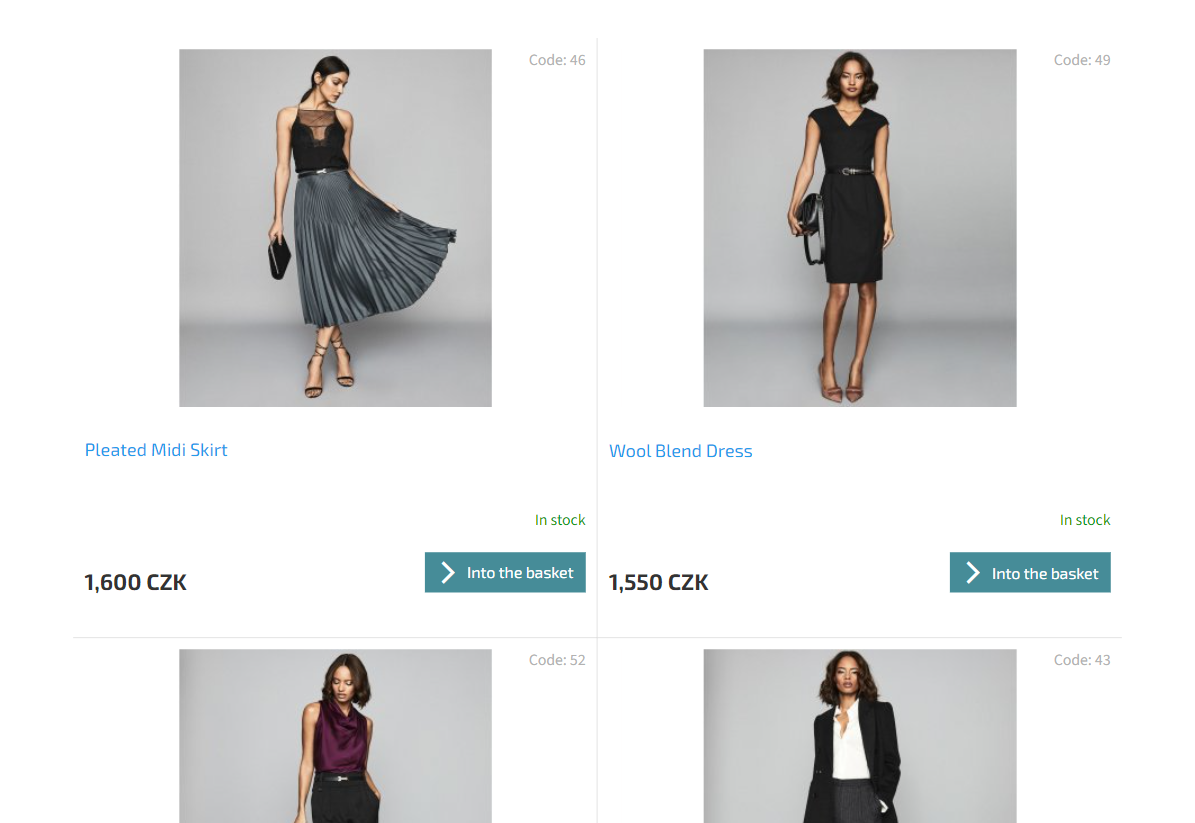
Imagine your PLP on desktop looks something like the following:
After integrating Zyler Go, Try On buttons will then appear below the products:
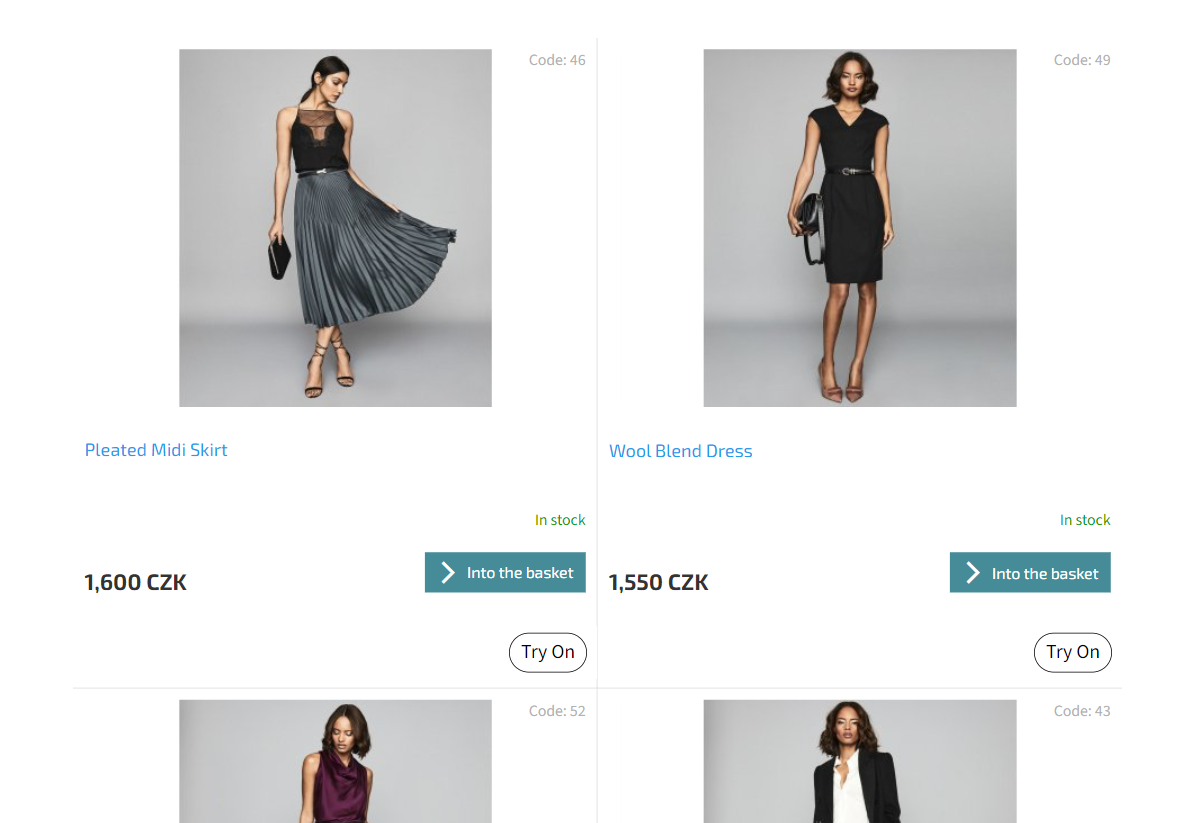
These Try On buttons can be customized to match the brand of your website as you see fit. Upon clicking the Try On button for an outfit, the Zyler Go widget will be displayed in the bottom left of the window showing the user visualized in that outfit. For example:

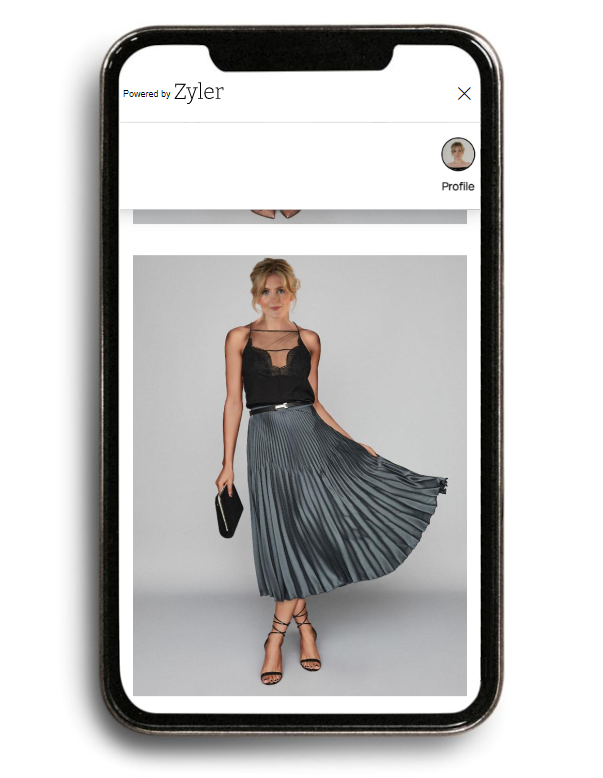
On mobile, the widget will occupy the whole screen as can be seen below:
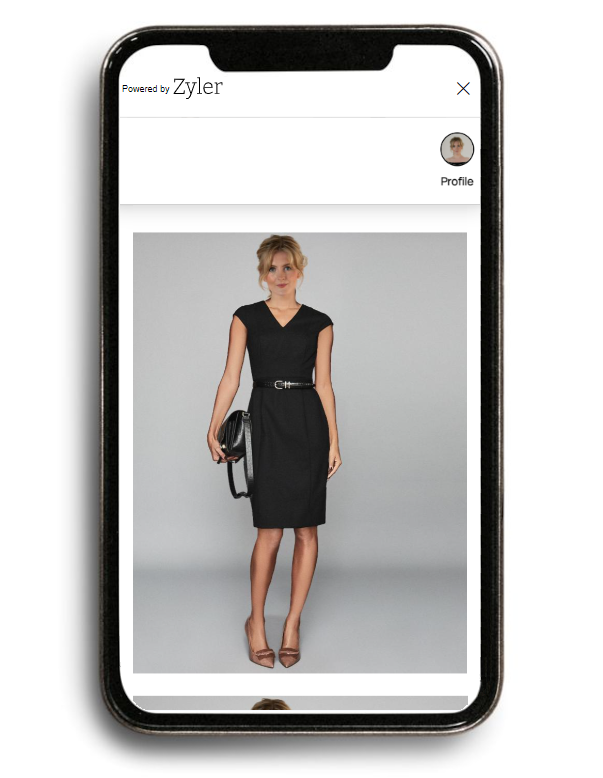
In both views, you are able to swipe vertically to view all your other outfits that are available for visualization.
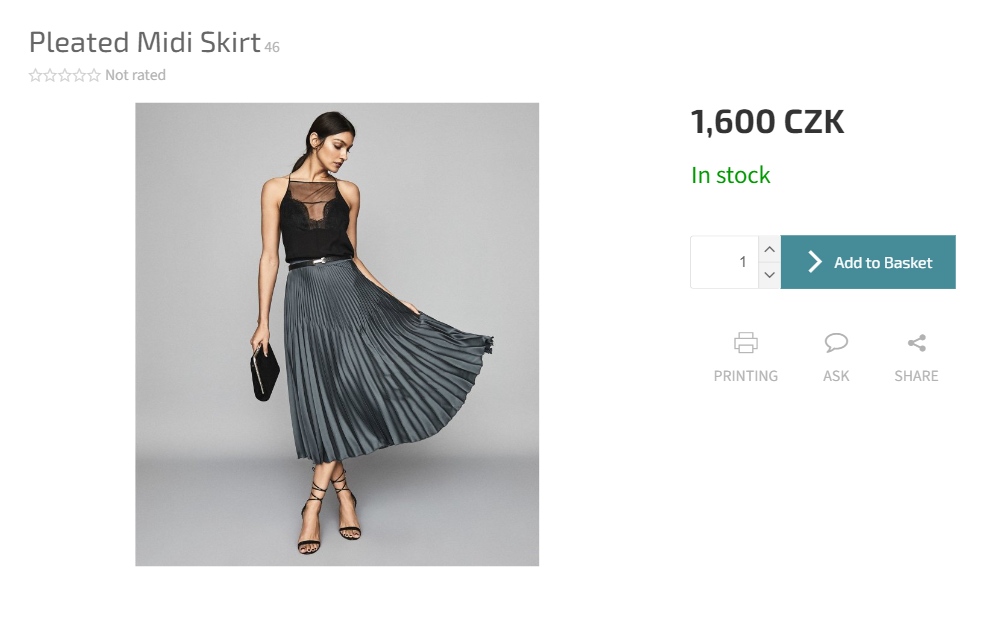
As with the PLP, integrating Zyler Go on the PDP will add Try On buttons. Imagine your PDP on desktop looks like the following (before integrating Zyler Go):
After integrating Zyler Go, a Try On button will appear under the product information section:

As before, upon clicking the Try On button, the Zyler Go widget will be displayed with the outfit visualized on the user. For example:

On mobile once again, the widget will occupy the whole screen as can be seen below:
Integration Steps
There are two simple steps for integrating Zyler Go on Shoptet:
In these examples, the free Shoptet template "Classic" is used. Using custom templates may not produce the expected results since class names required by the script may change. If you find that this does not work as expected, please contact us at api@zyler.com.
Step 1: Including the Script
To include the script on your site, do the following:
- Navigate to "Appearance and Content" -> "Editor".
- Select the "HTML Code" tab.
- Scroll to the "Header (before the final HEAD tag)" section.
- Copy and paste the script below into the textbox, replacing
<partner-id>with your value from the Partner Portal.
<script defer partner-id="<partner-id>" platform="shoptet" src="https://www.zyler.com/js/platform-integration/v1/index.js"></script>
The script uses the defer attribute which is recommended for use if including scripts in the <head>. This ensures the script does not run until the browser has finished loading the page content.
Step 2: Styling Using CSS
To style your Try On buttons, copy and paste the following CSS into the same section as the script, either above or below it. You can edit it to match the brand of your website as you see fit.
    <style>
      .zyler-try-on-cta {
        display: block;
        color: black;
        font-size: 1.75rem;
        border: 1px black solid;
        border-radius: 2rem !important;
        padding: 0.5rem 1rem !important;
        margin: 0 !important;
        background-color: white !important;
        cursor: pointer;

        &:hover {
          background-color: #f0eff0 !important;
        }
      }

      .zyler-button-div {
        display: flex;
        width: 100%;
      }

      .product > .zyler-button-div {
        justify-content: right;
      }

      .products-block.products > div {
        padding-bottom: 50px;
      }
    </style>
This completes the integration steps. Zyler Go is now part of your Shoptet site.